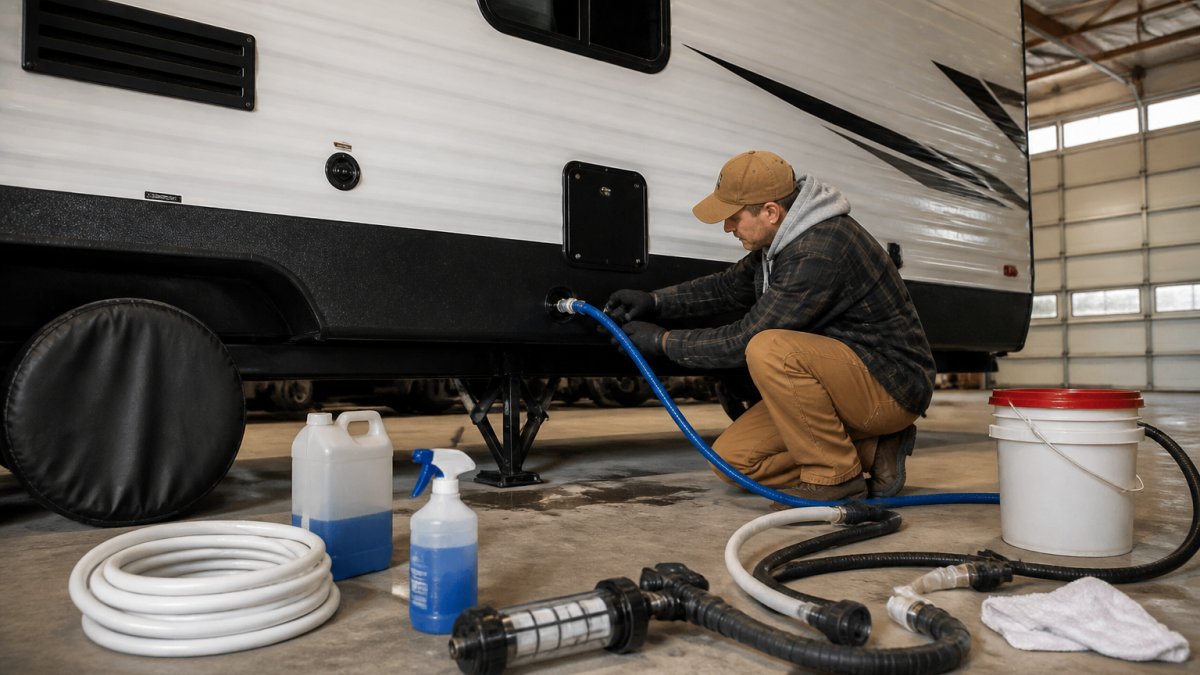
 how-to
How to Prepare an RV for Storage: 2026 Checklist
Table of Contents
- How to Prepare an RV for Storage: What You'll Need First
- Step 1: Clean the Interior and Exterior Before Storage
- Step 2: Drain and Winterize Your Water Systems
- RV Winterization Service Cost: What Affects the Price
- Step 3: RV Battery Storage Tips for Long-Term Health
- Preventing RV Moisture Damage During Storage
- Step 4: Protect Tires, Seals, and the Exterior
- Step 5: Secure Your RV: Anti-Theft and Insurance Considerations
- Frequently Asked Questions
Last Updated: October 3, 2026
How to Prepare an RV for Storage: What You'll Need First
Learning how to prepare an RV for rv storage protects the single biggest purchase most owners make after their home. Skip the work now and you pay for it in spring with cracked seals, dead batteries, and a moldy interior.
RV storage is the process of shutting down and protecting a recreational vehicle for weeks or months so its systems, structure, and finishes survive the idle period undamaged.
The work takes most owners a full weekend. Below, we break it into five steps and flag the mistakes that cost people the most money.
Tools and Supplies Checklist
Gather everything before you start. A second trip to the hardware store mid-job is how corners get skipped.
- Fresh water hose and bucket
- RV-safe antifreeze (plumbing-grade, not automotive)
- Tank treatment and a sewer hose
- Soft brush, mild soap, and microfiber cloths
- Tire covers and wheel chocks
- Battery disconnect tool or wrench
- Trickle charger or smart maintainer
- Dehumidifier or moisture absorber packs
- Steel wool and rodent deterrent
- RV cover sized to your rig
- Fuel stabilizer
- Silicone-based seal conditioner
Step 1: Clean the Interior and Exterior Before Storage
Dirt left sitting for months bakes into surfaces and feeds mold. Clean everything before you close the door, not after.
Start outside with a full exterior wash. Pay attention to the roof, where tree sap and debris trap moisture against the membrane. While you're up there, inspect the roof for cracks and reseal anything suspect.
Inside, do a deep clean:
- Vacuum carpets, upholstery, and under seat cushions
- Wipe down the fridge, freezer, and cabinets
- Clean the stove and oven of grease
- Empty and clean the trash area
- Leave the fridge door propped open
Any food left behind attracts pests. Remove every crumb, can, and box.
Step 2: Drain and Winterize Your Water Systems
Water left in lines is the number one cause of freeze damage. Drain and winterize every water system before the first hard frost.
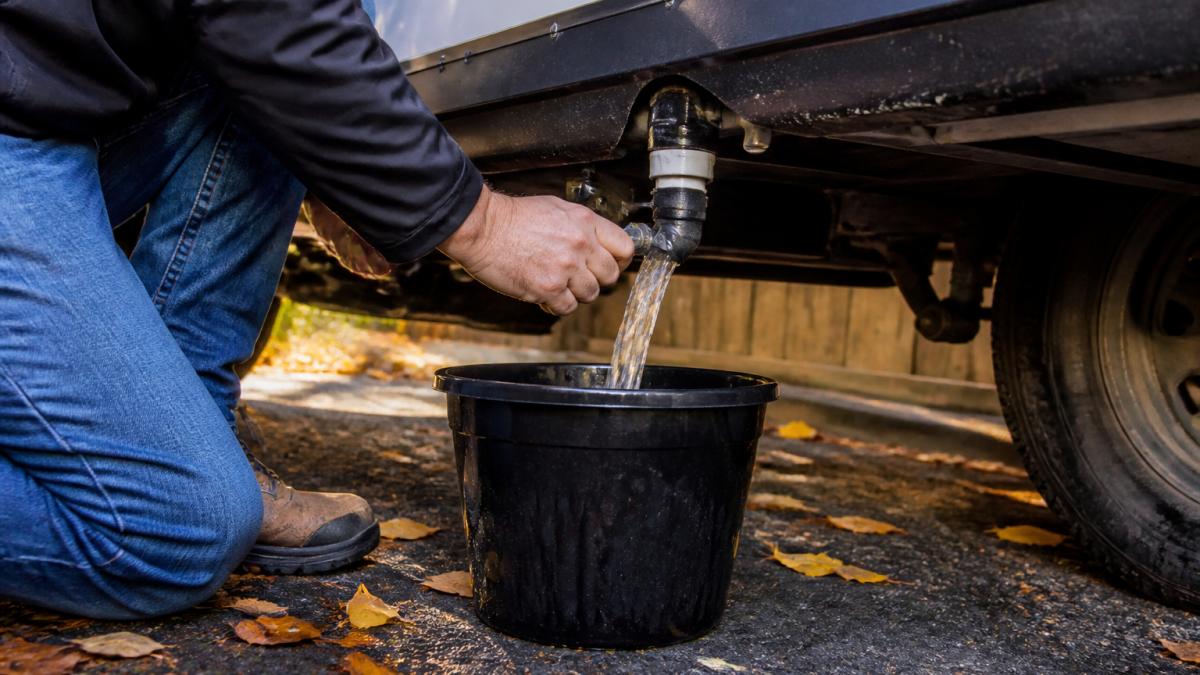
Empty the fresh water tank, then run every tap until the lines are dry.
Next, bypass the water heater and pump plumbing antifreeze through the lines until it runs pink at every faucet, including the shower and toilet.
RV Winterization Service Cost: What Affects the Price
Winterization pricing depends on your rig's size, how many water systems it has, and whether you want it done on site. Larger units with multiple bathrooms, an ice maker, a washing machine, or a tankless water heater take longer and use more antifreeze, so they cost more than a basic travel trailer.
The Cost Drivers, in Order of Impact
- Number of water systems and fixtures. Every additional faucet, toilet, shower, outdoor kitchen, and appliance that draws water adds time and antifreeze. A single-bath travel trailer is the simplest job; a two-bath motorhome with a washer/dryer hookup is the most complex.
- Antifreeze volume. Plumbing-grade antifreeze is sold by the gallon, and a large rig can take several gallons to push pink through every line. The more fixtures, the more gallons.
- On-site vs. drop-off. A technician traveling to your storage spot adds a service-call charge. Dropping the rig off at a shop is usually cheaper but requires you to move it.
- Bundled services. Adding a full system check, a battery service, or a seal inspection while the technician is already there is cheaper than booking them separately later.
- Repairs found mid-job. A leaking valve, a cracked fitting, or a failed water heater bypass can turn a routine winterization into a repair. Ask for a quote before work starts.
How to Compare Quotes Fairly
When you call around, ask each provider the same questions so you're comparing like for like:
- Does the price include antifreeze, or is it billed per gallon on top?
- Is the water heater bypassed and drained, or just the lines?
- Are the P-traps and toilet bowl treated?
- Is there a separate charge for travel to your location?
- What's the policy if a line freezes and splits after the service?
A cheap quote that skips the water heater or the P-traps isn't a deal, it's a spring repair bill waiting to happen.
We won't quote a flat figure here because it varies too much by unit. For current rates, contact ONSITE RV RENTAL AND REPAIR directly or check our site for a quote. As a reference point, the Canadian Camping and RV Association publishes general ownership guidance for members.
Step 3: RV Battery Storage Tips for Long-Term Health
A battery left connected will drain itself flat and may never fully recover. Disconnect it or keep it on a maintainer.
Here are the core RV battery storage tips we give every owner:
- Disconnect the negative terminal to stop parasitic drain
- Store the battery in a cool, dry place if you remove it
- Use a trickle charger or smart maintainer for long storage
- Never store a battery on a concrete floor if you can avoid it
- Check the water level in lead-acid cells before storing
A charged battery handles cold far better than a flat one. If your rig sits for months, a maintainer is the cheapest insurance you can buy.
Preventing RV Moisture Damage During Storage
Moisture is the quiet killer of stored RVs. Trapped damp air breeds mildew, warps wood, and rusts metal, all out of sight until spring. Most guides treat moisture as one problem with one fix. It isn't. What works in a damp coastal climate will underperform in a dry interior climate, and both differ from what a rig stored through a hard freeze needs.
Match Your Moisture Strategy to Your Climate
Humid and coastal storage. Relative humidity that stays above 60% for weeks is the worst case. Air can't hold more water once it's saturated, so it condenses on the coldest surfaces first, usually the ceiling, window frames, and the underside of the mattress. Here you want active moisture removal, not just airflow:
- Run a small electric dehumidifier on a timer, or use a desiccant-style absorber (calcium chloride is the common active ingredient) rated for the cubic footage of your rig
- Crack a roof vent a half-inch under the cover so vapor has somewhere to go
- Leave cabinet, closet, and fridge doors open so air moves through dead zones
- Pull mattresses and cushions away from exterior walls to break the cold-surface contact that triggers condensation
Arid and dry storage. Low humidity is your friend, but dust and UV are the trade-offs. You need less absorption and more sealing. Keep vents closed to block dust intrusion, and focus on UV protection for seals and plastics rather than moisture packs, which dry out and stop working faster in low humidity.
Freezing storage. The risk shifts from mold to freeze-thaw cycling. Any water left in a line, trap, or tank expands when it freezes and can split fittings.
A Monitoring Cadence That Actually Catches Problems
A single check-in at the end of storage is too late. A common pattern among owners who avoid spring surprises is a short monthly walk-through:
- Open the door and smell, a musty odor is the earliest signal
- Feel the ceiling, walls, and mattress underside for cold damp spots
- Check absorber packs or the dehumidifier reservoir and replace or empty as needed
- Look for new water stains, bubbling wallpaper, or rust flecks on hinges
- On a dry, low-humidity day, air the rig out for an hour, then reseal it
Step 4: Protect Tires, Seals, and the Exterior
Tires and seals degrade faster than anything else on a parked RV. Protect both or you'll be replacing them sooner than you'd like.
Inflate tires to the pressure on the sidewall placard and cover them to block UV. If you can, move the rig slightly every few weeks to avoid flat spots. Use chocks and leveling jacks to take weight off the suspension where the manual allows.
For seals and the exterior:
- Condition slide-out seals, window seals, and door gaskets with a silicone product
- Retract and secure all slide-outs and awnings
- Close and lock propane tanks, and shut off the valve
- Cover the rig with a breathable RV cover
- Check tire pressure again before you leave it
Step 5: Secure Your RV: Anti-Theft and Insurance Considerations
A stored RV is a target, and most owners don't think about theft until it happens. Lock it down before you walk away.
Anti-theft basics include a hitch lock, wheel chocks, and a coupler lock for trailers. Park in a well-lit spot or a secure storage facility with cameras and a gate. Remove valuables and anything that hints at what's inside.
Insurance matters here too. Many policies require you to notify your insurer if the RV sits unused for an extended period, and some reduce coverage on an unoccupied rig.
Frequently Asked Questions
Should I leave my RV plugged in while in storage?
It depends on your setup. Leaving it plugged into shore power keeps the battery topped up, but only if your converter has a smart charging mode. A better option is to disconnect the battery and use a trickle charger, or remove it entirely and store it somewhere cool and dry. If you leave it connected, check the water levels in flooded batteries monthly. Never leave a battery connected to a parasitic load for months, since that drains it and shortens its lifespan.
Do I need to remove the battery from my RV for storage?
You don't have to remove it, but disconnecting it is essential. Even with the battery disconnect switch off, some RVs still draw a small current for clocks, CO detectors, and control boards. Disconnect the negative terminal first, then the positive. If you store the RV in freezing temperatures, pull the battery and keep it indoors on a trickle charger. A charged battery resists freezing far better than a discharged one, and it will be ready when you are.
How do I prevent moisture buildup in my RV during storage?
Ventilation and absorption are your two main tools. Crack a roof vent slightly if your storage allows it, and use a dehumidifier or moisture absorber like DampRid. Clean and dry the interior thoroughly before closing it up, since trapped moisture causes mildew. Leave cabinet doors and the fridge open a crack for airflow. Check monthly for condensation on windows and walls. If you spot mildew, treat it immediately with a vinegar solution before it spreads to upholstery and wood.
Should I cover my RV in storage?
A cover protects against UV damage, tree sap, and bird droppings, but it can also trap moisture if you use the wrong type. Choose a breathable, water-resistant cover sized for your RV, not a tarp. In coastal climates with high humidity, a cover combined with interior ventilation works well. If you store indoors or under a roof, skip the cover. Always secure it tightly so wind doesn't rub it against the paint and cause scratches.
Storing an RV properly takes a weekend of work, but the payoff is a rig that starts clean and damage-free in spring. If any part of the process feels beyond your comfort level, the ONSITE RV RENTAL AND REPAIR team handles winterization, battery service, and full system checks year-round, with mobile service that comes to your site and a shop in Port Alberni. We also offer pre-storage inspections so nothing gets missed. Call to book an appointment and get your RV ready for the off-season.