 how-to
Book Mobile RV Inspection: Step-by-Step Guide
Table of Contents
- Why Book a Mobile RV Inspection Before Buying
- What a Pre-Purchase RV Inspection Covers
- RV Inspection Checklist: What to Expect
- How Long Does an RV Inspection Take
- Understanding RV Inspection Cost and Travel Fees
- How to Book Your Mobile Inspection: Step-by-Step
- How to Prepare Your RV for the Inspection
- What Happens After the Inspection
- Common Mistakes to Avoid When Booking
- Frequently Asked Questions
Last Updated: October 16, 2026
Why Book a Mobile RV Inspection Before Buying
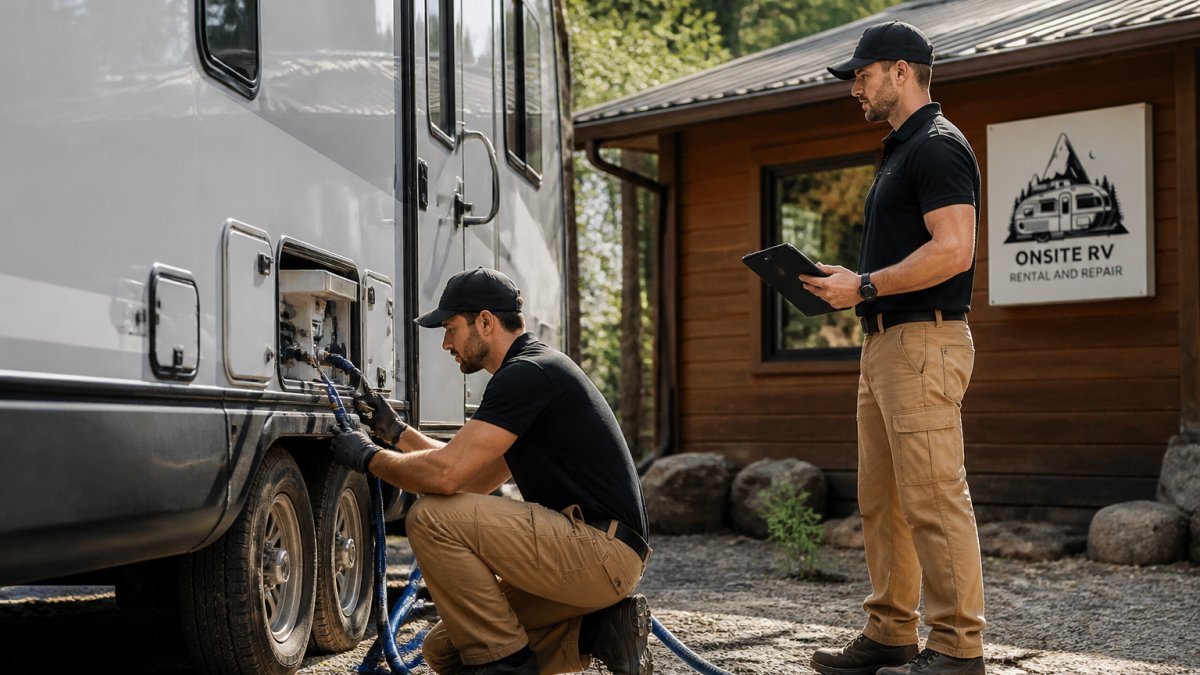
A mobile RV inspection is a comprehensive evaluation of an RV's systems and structure performed at the vehicle's location by a qualified technician. Before committing to a major purchase, this inspection protects you from inheriting hidden problems that could cost thousands to repair. Whether you're buying a used motorhome, fifth wheel, or travel trailer, understanding what's involved in booking and completing a mobile RV inspection helps you make a confident decision.
At ONSITE RV RENTAL AND REPAIR, we've helped countless buyers avoid costly surprises by conducting thorough pre-purchase inspections. Many buyers skip this step to save money upfront, then face electrical failures, plumbing leaks, or propane system issues within months of purchase. A professional mobile RV inspection catches these problems before you sign the papers, giving you use to negotiate repairs or price adjustments with the seller.
The convenience of having a technician come to the RV's current location, whether it's a private driveway, dealership lot, or campground, means you avoid the hassle and expense of towing it to a service shop. You can also be present during the inspection to ask questions and understand the condition of your potential investment.
What a Pre-Purchase RV Inspection Covers
A comprehensive pre-purchase RV inspection examines every major system and structural component. The scope typically includes both visible elements and systems that require diagnostic testing. Understanding what gets checked helps you know what to expect and what questions to ask your technician.
Electrical and Propane Systems
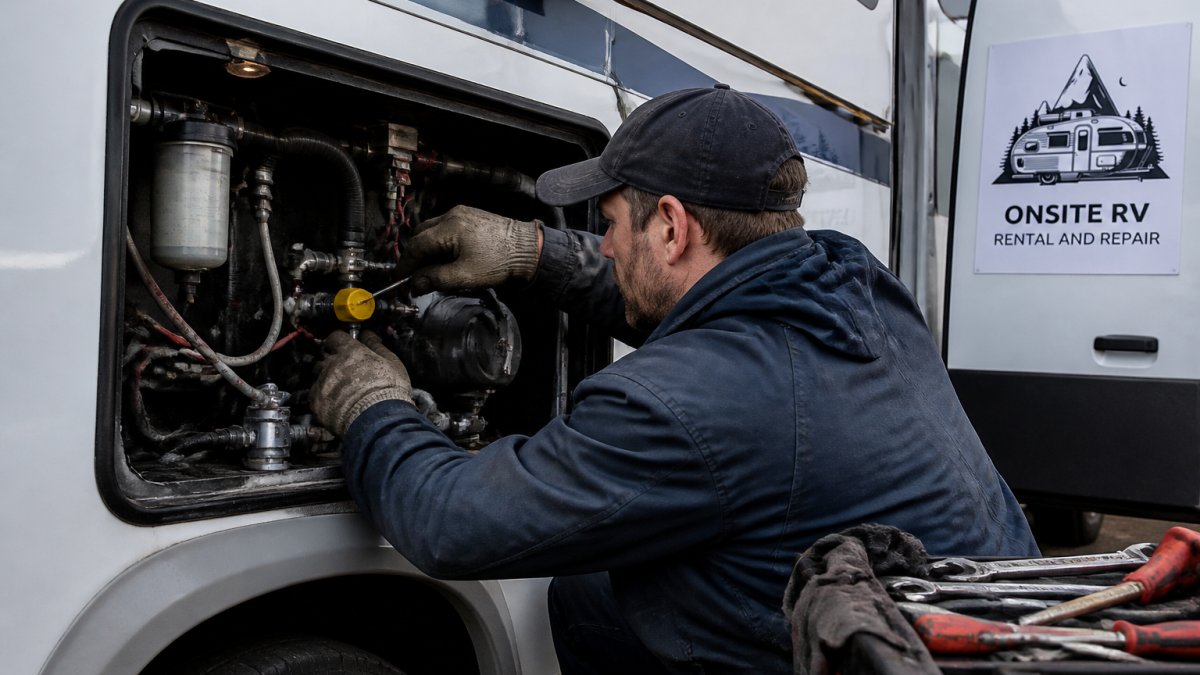
The electrical system is one of the most critical areas to evaluate. An RV inspection covers the main battery bank, converter, inverter (if equipped), shore power connections, and all 120-volt and 12-volt wiring throughout the unit. A technician tests outlets, lighting circuits, and the refrigerator's electrical operation to ensure everything functions safely. Faulty wiring or a failed converter can leave you without power on the road or create fire hazards.
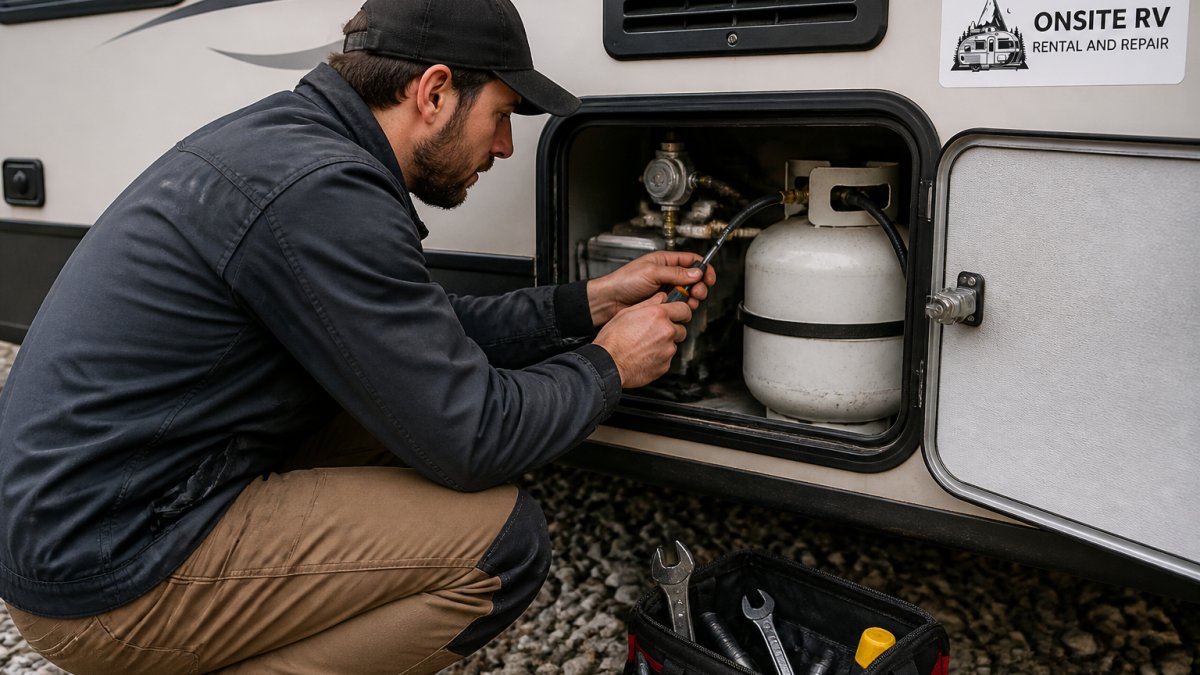
The propane system receives equally thorough attention. Inspectors check the tank condition, regulator function, and all gas lines for leaks using specialized detection equipment. They test the furnace, water heater, cooktop, and any other appliance that runs on propane. A propane leak is a serious safety issue that must be identified and corrected before you take the RV on the road.
Plumbing, Appliances, and Structural Integrity
The plumbing system inspection includes the fresh water tank, gray water tank, black water tank, water heater, faucets, shower, and toilet. Technicians test for leaks, check water pressure, and verify that all connections are secure. Hidden plumbing leaks often cause water damage inside cabinets and walls, so detecting them early prevents expensive repairs.
Appliances such as the refrigerator, oven, microwave, and air conditioning unit are tested for proper operation. Structural integrity is assessed by checking for water damage, soft spots in floors or walls, roof leaks, window seals, and caulking condition. A mobile RV inspection also includes a safety inspection of smoke detectors, carbon monoxide detectors, and fire extinguishers.
RV Inspection Checklist: What to Expect
Knowing what a technician will examine gives you confidence in the process and helps you prepare. Here's what a typical mobile RV inspection checklist includes:
- Exterior condition: roof, walls, windows, seals, and caulking
- Tire condition, tread depth, and sidewall damage
- Battery bank voltage and condition
- Shore power cord and inlet connections
- All 120-volt and 12-volt outlets and switches
- Water tanks and plumbing connections for leaks
- Furnace and heating system operation
- Air conditioning unit function and refrigerant level
- Propane system safety and appliance operation
- Appliances: refrigerator, stove, microwave, water heater
- Slide-out mechanisms (if equipped) for smooth operation
- Interior cabinets and storage for water damage
- Doors, locks, and window operation
- Brake system and chassis condition
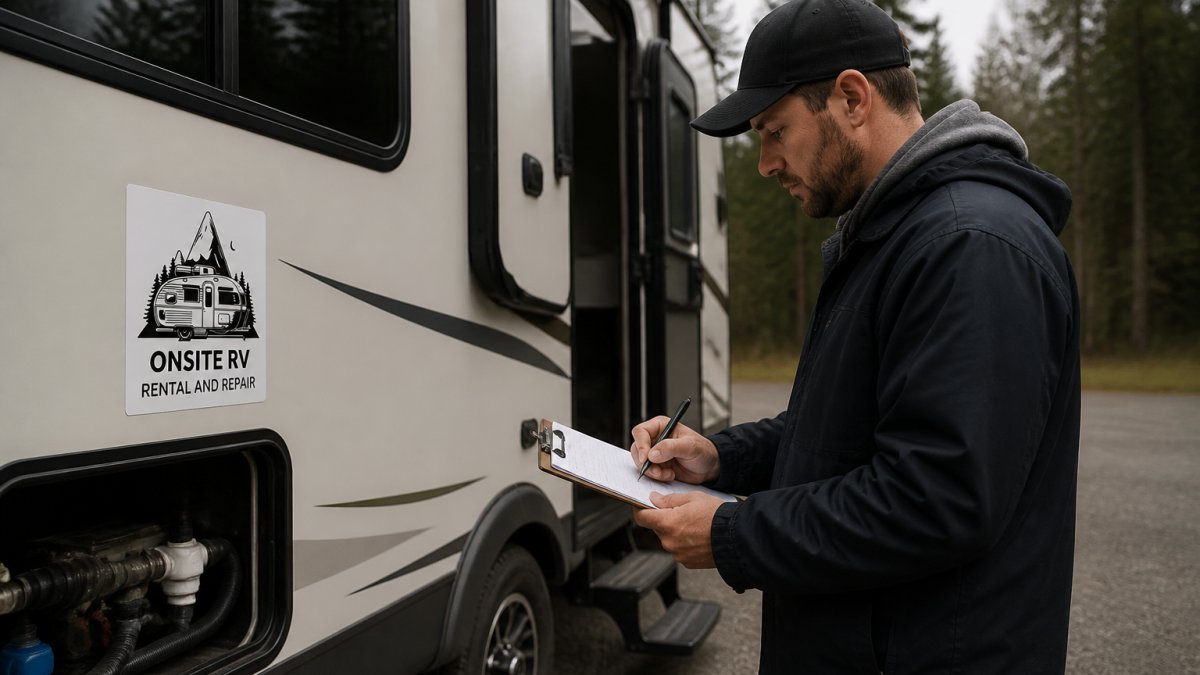
This checklist ensures nothing gets overlooked. Your technician will document findings in a written report with photos, making it easy to share results with the seller or your financial advisor.
How Long Does an RV Inspection Take
A thorough mobile RV inspection typically takes 2 to 4 hours, depending on the RV's size and complexity. Smaller travel trailers may require closer to 2 hours, while large motorhomes with multiple slide-outs and advanced systems can take 4 hours or longer. The time allows for careful testing of electrical circuits, propane appliances, plumbing connections, and structural assessment.
During the inspection, you can ask questions and observe the technician's work. Many owners find this time valuable for learning how their RV's systems operate and what maintenance tasks they'll need to perform. If significant issues are found, additional diagnostic time may be needed to determine the full scope of repairs required.
Understanding RV Inspection Cost and Travel Fees
Most mobile RV inspection listings quote a single "starting at" figure and leave the rest to a phone call. That makes it hard to budget before you commit. Here is how pricing actually breaks down so you can compare quotes on equal terms.
What drives the inspection fee
Three variables move the price more than anything else:
- RV class and length. A compact travel trailer under 6 meters has fewer systems and takes less time than a 12-meter diesel pusher with three slide-outs, a residential fridge, and an inverter bank. Expect the fee to scale with length and system count.
- Inspection tier. A basic safety and systems walkthrough costs less than a comprehensive pre-purchase diagnostic that includes moisture-meter readings, propane leak-down testing, and a full 12-volt/120-volt circuit check.
- Add-ons. Fluid sampling (engine oil, coolant, transmission), chassis and brake measurement on motorized units, and roof membrane close inspection are commonly priced separately because they add time and consumables.
How travel fees work
Travel is the line item buyers most often forget. Mobile technicians typically charge one of two ways:
- A flat zone fee based on distance from the technician's home base, for example, a set fee for the core service area and a higher flat fee for outlying communities.
- A per-kilometer charge beyond a free radius, often expressed as a rate per kilometer each way, plus ferry costs where a water crossing is involved.
If the RV sits on an island or requires a ferry, expect the ferry fare and crossing time to be billed on top of the inspection. Ask whether the quote is "all-in" or "plus travel" before you book.
Cancellation, rescheduling, and payment
Ask three questions before you confirm a slot:
- Cancellation window. Many operators require 24 to 48 hours' notice to avoid a fee, because a cancelled slot is hard to refill on short notice.
- Weather and access rescheduling. If the seller moves the RV or the site is inaccessible, who absorbs the trip? Get this in writing.
- Payment method and timing. Most mobile technicians collect payment at the time of service by card, e-transfer, or cash, and issue a receipt for your records. If you need an invoice for a lender or insurer, request it when booking.
Is it worth it?
Compare the inspection fee against the repair exposure. A failed converter, a hidden roof leak that has rotted a wall, or a propane leak that requires a new regulator and line work can each run into the thousands of dollars CAD. Paying a few hundred dollars up front to surface those issues, and using the report to negotiate, is usually the cheaper path. For current pricing tailored to your RV's size and location, contact ONSITE RV RENTAL AND REPAIR with the RV's year, make, model, and address.
How to Book Your Mobile Inspection: Step-by-Step
Booking a mobile RV inspection is straightforward. Follow these steps to schedule your appointment and ensure the technician has all the information needed to arrive prepared.
Step 1: Gather Your RV Details
Before calling to book, collect basic information about the RV you want inspected. Write down the year, make, model, and approximate mileage. Note the RV's current location and whether it's parked at a private residence, dealership, or campground. If you know the RV's condition history or any concerns the seller mentioned, have those details ready. This information helps the technician prepare appropriate tools and diagnostic equipment for your mobile RV inspection.
Step 2: Contact ONSITE RV and Confirm Availability
Call ONSITE RV RENTAL AND REPAIR to discuss your inspection needs. Explain the RV's location and confirm that the technician can travel to that area. Ask about current availability and typical turnaround times for scheduling. The team will answer questions about what the mobile RV inspection includes and discuss any specific systems you want extra attention paid to. If you have concerns about the RV's electrical system, propane setup, or plumbing, mention those now so the technician can plan accordingly.
Step 3: Schedule Your Appointment and Confirm Location
Once you've confirmed availability, schedule your appointment at a date and time that works with the RV's current location. Provide the exact address or detailed directions so the technician arrives at the right spot. Confirm the contact person who will be present during the inspection. Some inspections happen while the RV is still in the seller's possession, so clarify access arrangements. Ask about the expected duration and whether you should plan to stay for the entire inspection or if the technician can work independently.
How to Prepare Your RV for the Inspection
A few simple preparation steps help the inspection run smoothly and allow the technician to access all systems without delay. Clear the area around the RV so the technician can walk around it safely and check exterior components. If the RV is parked in a garage or tight space, arrange for it to be moved to an open location if possible.
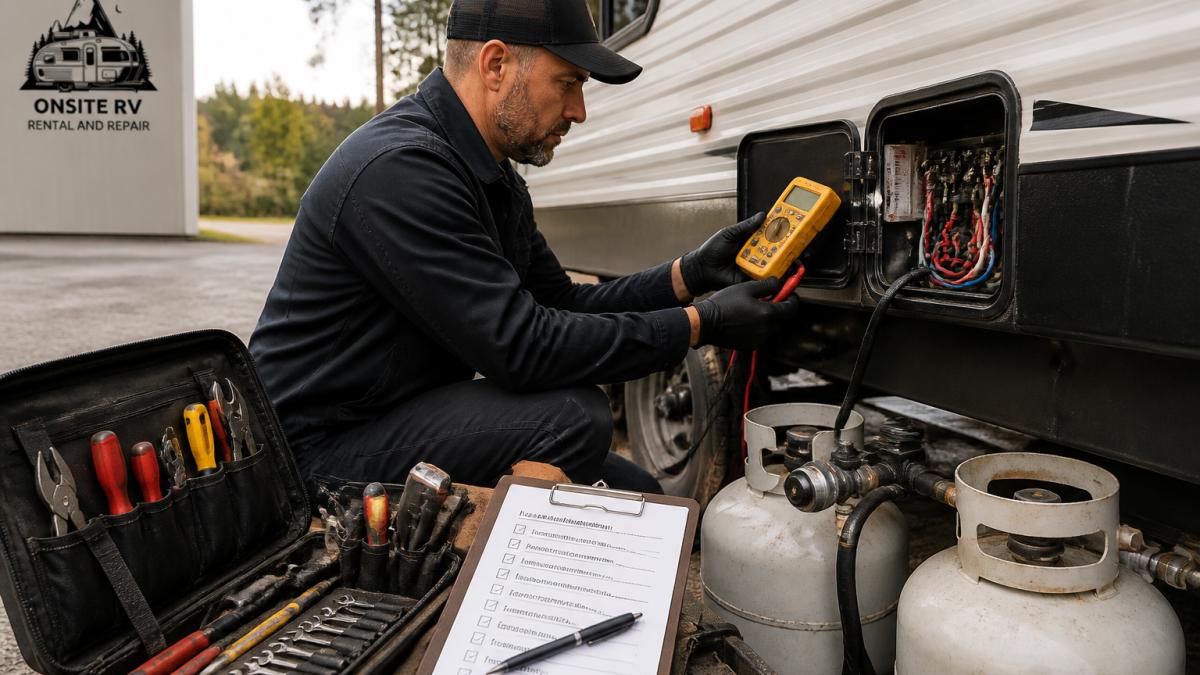
Make sure the RV is unlocked and accessible. If you have keys for compartments, storage areas, or the engine, have them available. Ensure the RV's batteries are charged or that shore power is available so the technician can test electrical systems. If the RV has been sitting unused, fill the fresh water tank so plumbing and water pressure can be tested. Turn off any alarms or security systems that might interfere with the inspection. Leave the RV in a condition that allows the technician full access to all systems, compartments, and appliances.
What Happens After the Inspection
The inspection itself is only half the value. What you do with the findings is what protects your money. Here is how the results are typically delivered and how to use them.
How findings are documented
A professional mobile inspection produces a written report, not a verbal summary. Expect the report to include:
- Photos of each issue, with the location on the RV noted so you can find it again.
- System-by-system notes covering electrical, propane, plumbing, appliances, structure, and safety equipment.
- A severity rating for each finding. A common three-tier scheme is:
- Monitor, normal wear, no immediate action, note for future maintenance.
- Repair soon, functional but degraded; budget for it in the near term.
- Safety or major, a defect that affects safe operation or represents significant cost, such as a propane leak, a failed breaker, or active water intrusion.
- Repair estimates or ranges where the technician can reasonably provide them, flagged as estimates rather than quotes.
Ask your technician up front what format the report takes, whether it includes severity ratings, and how quickly it will be delivered. A report without photos and severity ratings is much harder to use in a negotiation.
How to read the report
Work through it in this order:
- Safety items first. Anything rated as a safety defect, propane, electrical, brakes, or structural, should be treated as a condition of purchase, not a bargaining chip.
- Major systems next. Roof, walls, floor, and slide-out mechanisms are the most expensive to repair and the hardest to hide. Water intrusion is the single most common deal-breaker on used units.
- Cosmetic and monitor items last. These rarely justify walking away, but they are fair material for a price adjustment.
Using the report in negotiation
A written, photo-documented inspection report changes the conversation with a seller. Instead of arguing about condition, you are presenting evidence. Common outcomes include:
- Seller completes the repairs before closing, with receipts.
- Price reduction equal to or near the estimated repair cost.
- Credit at closing or a holdback held in trust until repairs are done.
- Walk away when safety or structural findings are severe enough that the price cannot reasonably reflect the risk.
If you are financing the RV, your lender may require the inspection report before approving the loan, and an insurer may ask about major findings when you set up coverage. Keep a copy of the report for your records; it also becomes the baseline for your own maintenance schedule.
Next steps checklist
- Review the report within 24 to 48 hours of receiving it.
- Separate safety items from cosmetic items.
- Get firm repair quotes for any major finding.
- Present findings to the seller in writing.
- Decide: negotiate, proceed as-is, or walk away.
If anything in the report is unclear, call the technician who performed the inspection. A good inspector will walk you through the findings and explain what each one means for the RV's use and value.
Common Mistakes to Avoid When Booking
Skipping the mobile RV inspection to save money is the biggest mistake buyers make. The cost of an inspection is small compared to unexpected repairs after purchase. Another common error is booking an inspection without confirming the technician's experience with your specific RV type. Some technicians specialize in motorhomes while others focus on travel trailers, so verify expertise before scheduling.
Don't schedule the inspection at a time when you can't be present or arrange for someone to meet the technician. Being there allows you to ask questions and understand the RV's condition firsthand. Failing to provide accurate location details or access information can cause delays or missed appointments. Finally, don't ignore red flags in the inspection report. If major systems are failing or significant water damage is present, seriously reconsider the purchase unless the price reflects the repair costs you'll face.
Buying an RV is a significant investment, and a mobile RV inspection protects that investment by revealing the true condition of every major system before you commit. The process is straightforward to book and takes just a few hours, yet the peace of mind is invaluable. ONSITE RV RENTAL AND REPAIR provides comprehensive pre-purchase inspections, with experienced technicians who test electrical systems, propane safety, plumbing integrity, and structural soundness. Call today to schedule your mobile RV inspection and buy with confidence.
Frequently Asked Questions
How do I book a mobile RV inspection?
Contact ONSITE RV directly by phone or through their website to request a mobile RV inspection. Provide your RV's year, make, model, and location. Confirm your preferred appointment date and time, and the technician will travel to your site to perform the inspection. Most bookings can be scheduled within a few days, depending on seasonal demand and service area coverage.
What should be included in an RV inspection checklist?
A comprehensive RV inspection checklist covers electrical systems, propane/LP systems, plumbing and water systems, appliances (furnace, refrigerator, stove), roof condition, windows and seals for leaks, brakes and chassis, tires, batteries, water heater, and safety equipment like smoke and carbon monoxide detectors. The inspector will test each system for proper operation and identify any needed repairs or maintenance.
How long does a mobile RV inspection take?
A typical mobile RV inspection takes 2-4 hours depending on the RV's size, age, and complexity. Larger motorhomes or RVs with multiple systems requiring detailed diagnostics may take longer. ONSITE RV will provide an estimated duration when you book your appointment so you can plan accordingly.
How much does an RV inspection cost?
RV inspection pricing depends on the RV's size, age, systems complexity, and your location. Travel fees may apply based on distance from the service shop. Contact ONSITE RV directly for a quote tailored to your specific RV and inspection needs, or visit their website for current pricing and booking details.