 blog
Common RV Mechanical Issues to Watch For
Quick Summary
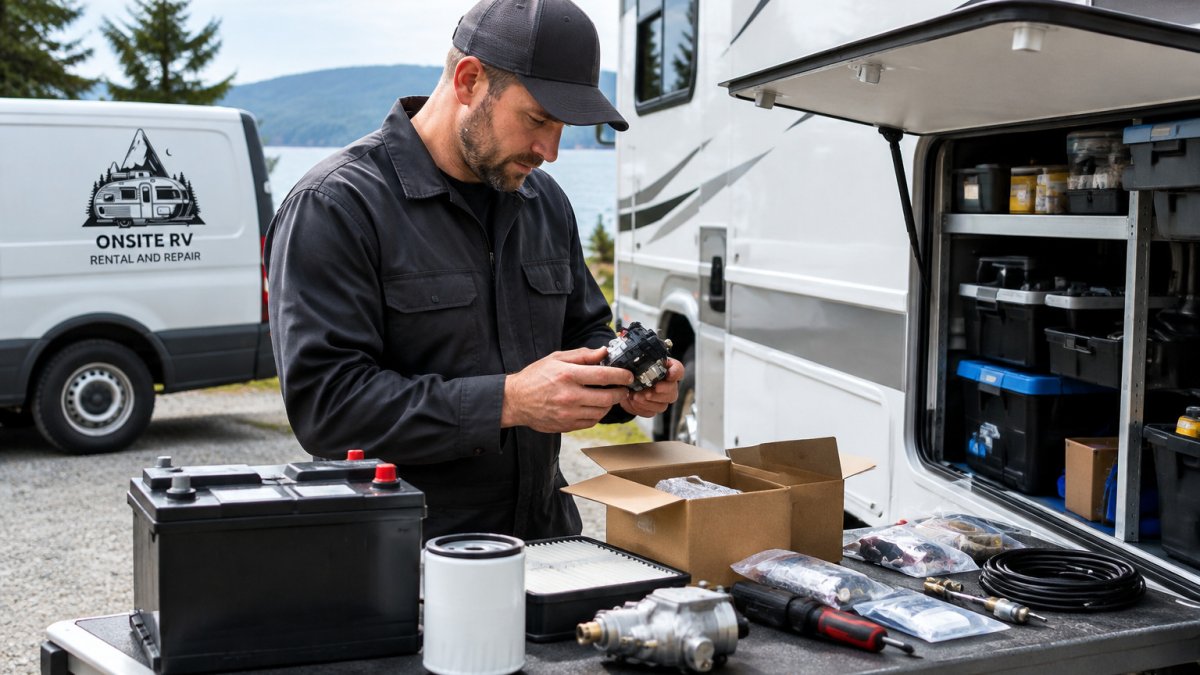
The most common rv mechanical issues to watch are engine trouble, brake wear, tire damage, battery and electrical faults, and plumbing or seal leaks. Each one usually gives warning signs before it fails, so a quick walk-around before each trip and a fuller inspection every few months catch most problems early.
- Stop driving immediately if the temperature gauge climbs into the red.
- Look at tires for cracks, bulges and uneven wear before each trip.
- Stop driving for any grinding metal-on-metal brake noise.
- Check roof and slide-out seals for cracks at least twice a year.
- Book a pre-trip inspection before your next trip, not after a breakdown.
Table of Contents
- Why Routine Checks Catch RV Mechanical Issues Early
- RV Engine Problems and Warning Signs
- RV Brake Problems: Spotting Wear Before It Becomes Dangerous
- RV Tire and Suspension Problems on Island Roads
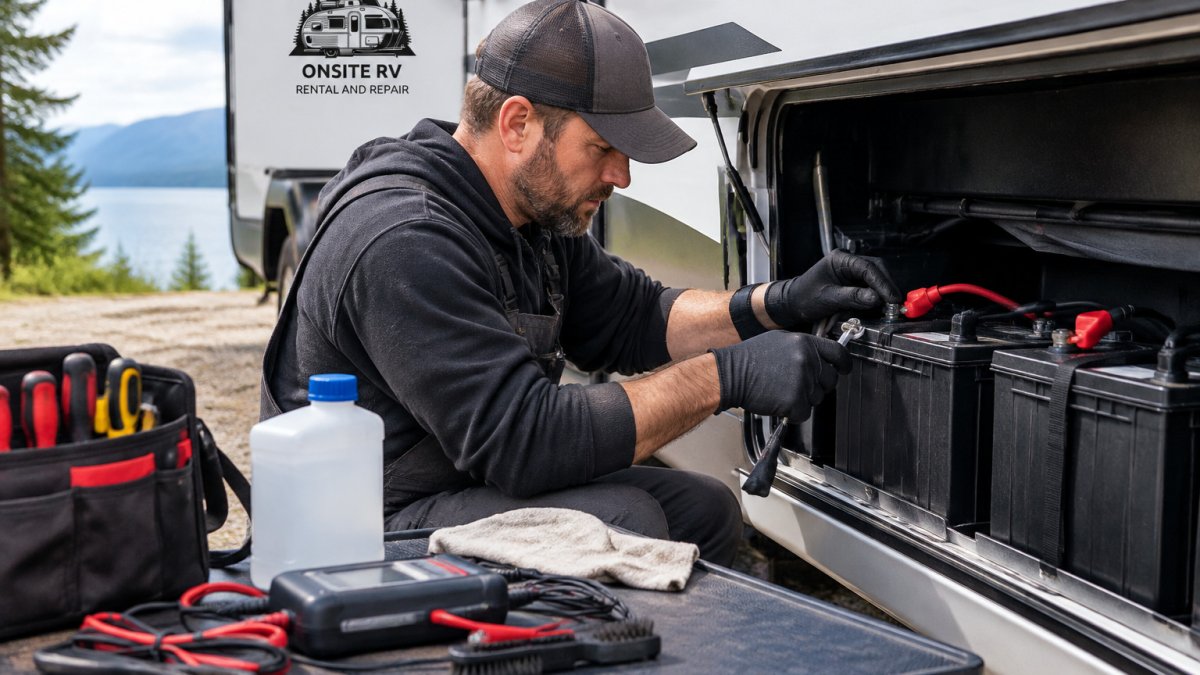
- RV Battery Problems and Troubleshooting Steps
- Plumbing, Roof and Slide-Out Leaks That Signal Bigger Faults
- Telling Urgent Faults From Minor Problems
- DIY Checks Versus Professional Repair
- Booking Your Pre-Trip Inspection and Maintenance Visit
- Frequently Asked Questions
Why Routine Checks Catch RV Mechanical Issues Early
Last Updated: November 12, 2026
Most RV breakdowns start small. A slow leak, a weak battery or a worn brake pad rarely fails without warning. Owners who check their rig on a regular basis are more likely to catch problems early, while owners who skip checks often face a tow and a costly repair.
Common rv mechanical issues to watch include engine trouble, brake wear, tire damage, electrical faults and plumbing leaks. Each one gives off signs before it fails. The trick is knowing what to look for.
Routine checks take less time than most owners expect. A walk-around before each trip, plus a fuller inspection every few months, covers most of what matters.
- Look at tires for cracks, bulges and uneven wear
- Check fluid levels and listen for new engine noises
- Test lights, brakes and the house battery
- Look under the rig for drips or wet spots
- Open the roof and slide seals to check for cracks
These quick steps catch many faults before they turn into emergencies. Routine checks also give you a baseline, so a change stands out quickly.
RV Engine Problems and Warning Signs
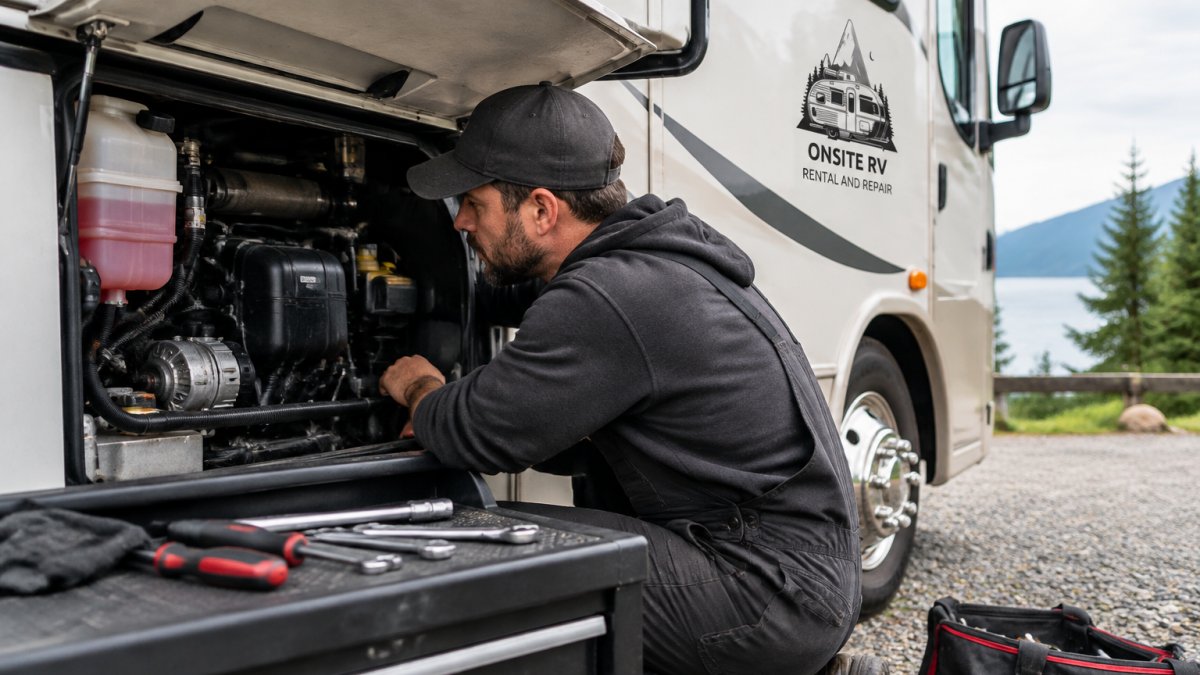
Engine trouble is one of the most serious rv mechanical issues to watch. Motorhomes carry heavy loads, and the engine works hard on hills and long highway runs. Catching a problem early protects the engine and keeps you off the shoulder.
Warning signs usually show up in the dash, the sound of the engine, or the smell from the exhaust. Pay close attention when something changes from normal.
Overheating, Smoke and Unusual Noises
Overheating is the most urgent sign. If the temperature gauge climbs into the red, pull over safely and shut the engine off. Driving on an overheating engine can cause serious damage.
Smoke tells you something too. Blue smoke often means oil is burning. White smoke that keeps coming after the engine warms up can point to coolant entering the engine. Black smoke usually means the engine is running rich on fuel.
Knocking, squealing or grinding sounds deserve a check soon. A squeal often comes from a loose or worn belt. A deep knock may point to a more serious internal fault.
- Stop driving if the temperature gauge rises into the red
- Note when the smoke appears and what color it is
- Write down any new noise, including when it happens
- Have a technician check the cooling system and oil level
Reporting these details to a technician speeds up the diagnosis.
RV Brake Problems: Spotting Wear Before It Becomes Dangerous
Brakes wear slowly, which makes them easy to ignore. Brake faults are a serious safety risk, especially on steep grades. Early checks keep wear from turning into a dangerous situation. The key is understanding what each symptom actually means, because a soft pedal and a grinding noise point to very different failures with very different urgency.
How RV Brake Systems Differ
Motorhomes typically use hydraulic brakes with power assist, and many heavier units add air brakes or exhaust brakes. Towables rely on the tow vehicle's brakes plus a trailer brake controller that sends signal to electric or electric-over-hydraulic drums or discs on the trailer axles. That difference matters: a spongy pedal in a motorhome points to the hydraulic system, while weak trailer braking often traces to the controller gain setting, a wiring fault at the7-pin connector, or contaminated brake fluid in the actuator.
Symptom-to-Cause Guide
- Soft or spongy pedal, air in the hydraulic lines, a failing master cylinder, or a fluid leak. Do not drive; this can escalate to total brake loss.
- Pedal sinks slowly while held, internal master cylinder bypass or a leaking wheel cylinder or caliper. Urgent.
- Grinding metal-on-metal noise, pads or shoes worn past the friction material, now scoring the rotor or drum. Stop driving; rotors and drums are far more expensive than pads.
- Pull to one side under braking, a sticking caliper, collapsed brake hose, or contaminated fluid on one side. Schedule inspection before the next trip.
- Burning smell after downhill driving, brake fade from overheated pads. Pull over and let the system cool; repeated fade means the pads or fluid need attention.
- Trailer brakes weak or absent, check controller gain, the 7-pin connection, and the breakaway switch before assuming a mechanical fault.
Urgent vs. Minor Brake Faults
Stop driving and seek professional help immediately for a pedal that sinks to the floor, any grinding noise, a brake warning light combined with poor stopping, or fluid visible on a tire or wheel. These are not faults you can schedule for later. A pull to one side or a slightly long pedal that has not worsened can be booked for inspection, but should not be ignored across a trip.
Watch out: a brake pedal that feels normal at low speed can still fail under the heat and load of a long downhill grade, test brakes gently after any steep descent before trusting them at highway speed.
What a Brake Inspection Should Cover
A proper inspection checks pad and shoe thickness, rotor and drum condition, fluid level and color, hose condition, caliper operation, and, on towables, the controller output and breakaway switch. Ask the technician to show you the measured pad thickness rather than just telling you the brakes are fine. Fluid that looks dark or has not been changed in several years should be flushed, since moisture in brake fluid lowers its boiling point and invites fade.
- A pedal that sinks further than normal
- A steering wheel that pulls left or right under braking
- A burning smell after a long downhill drive
- Metal-on-metal grinding when the brakes are applied
If any of these show up, have the brakes inspected before your next trip.
The table below sums up the main brake symptoms, their likely causes and how urgent each one is.
| Symptom | Likely cause | Urgency |
|---|---|---|
| Soft or spongy pedal | Air in lines, failing master cylinder or fluid leak | Do not drive |
| Pedal sinks slowly while held | Master cylinder bypass or leaking cylinder or caliper | Urgent |
| Grinding metal-on-metal noise | Pads or shoes worn past friction material | Stop driving |
| Pull to one side under braking | Sticking caliper, collapsed hose or contaminated fluid | Schedule inspection |
| Burning smell after downhill driving | Brake fade from overheated pads | Cool system, then inspect |
| Trailer brakes weak or absent | Controller gain, 7-pin connection or breakaway switch | Check electrical first |
RV Tire and Suspension Problems on Island Roads
Tires and suspension take a beating on winding roads, potholes and gravel pull-offs. Tires are also one of the most common causes of roadside breakdowns, and most failures give warning signs well before they strand you. The trick is reading those signs correctly.
Reading Tire Wear Patterns
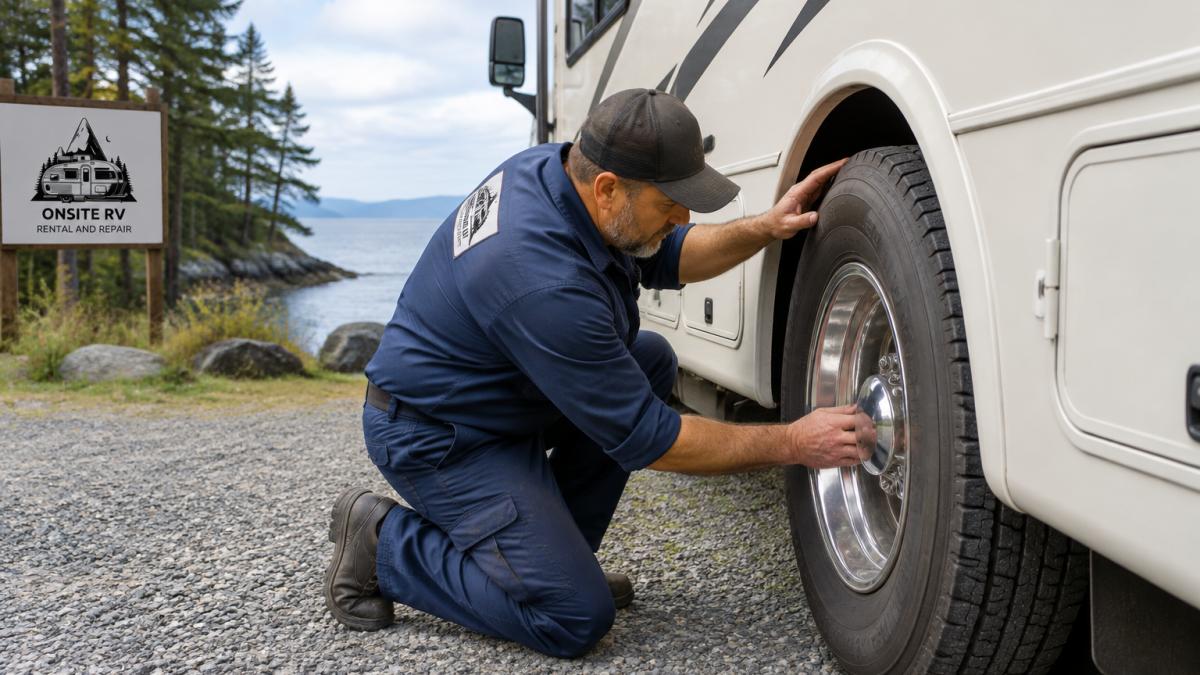
Uneven wear is a diagnostic tool, not just a cosmetic problem. Wear on both outer edges points to chronic underinflation. Wear down the center points to overinflation. Wear on one edge only suggests an alignment fault or a bent suspension component. Cupping or scalloped wear often traces to worn shocks or balance issues. Feathered tread, where one side of each tread block is higher than the other, points to misalignment. Each pattern tells you what to fix, not just that something is wrong.
Age, Load and Pressure
Tires age even when they are not used much. The four-digit date code on the sidewall tells you the week and year of manufacture, for example, 3223 means the 32nd week of 2023. Tires age even when tread looks fine, so check the date code and replace them when they reach the age the tire manufacturer recommends. Check the load range and maximum pressure on the sidewall against the placard inside the rig; underinflation relative to actual loaded weight is a leading cause of blowouts, and a cold tire can look fine while running low.
- Check pressure when tires are cold, before driving
- Inspect the sidewalls for cracks and bulges
- Look for uneven tread wear across the tire and note the pattern
- Read the date code and replace tires past their recommended age
- Confirm the load range matches the rig's loaded weight
Watch out: a bulge in the sidewall means internal cord damage, that tire is not safe to drive on, even to the next town.
Suspension Symptoms and What They Mean
Suspension faults show up as sagging, clunking over bumps, or a rig that sways in crosswinds. A clunk over bumps often points to worn sway bar bushings or links. Sagging at one corner can mean a broken leaf spring or a failed air bag. Excessive sway or porpoising on highway joints usually traces to worn shocks. On towables, check the hitch, equalizer bars, and tongue weight, poor weight distribution mimics suspension faults and overloads the rear tires.
Tire Pressure Monitoring and Pre-Trip Checks
If your rig has a tire pressure monitoring system, learn how it behaves before a trip, many systems alarm on temperature as well as pressure, and a rising temperature alarm can signal a dragging brake or bearing rather than a tire fault. Before each trip, walk the tires, check cold pressure against the placard, and look for anything new since the last check. These signs need attention before a long trip, not after the first highway sway.
RV Battery Problems and Troubleshooting Steps
Batteries cause more day-to-day headaches than almost any other system. A weak house battery can leave you without lights, a water pump or a fridge that runs on the wrong power source. Batteries also fail quietly, so regular checks matter.
Start with the basics. Check the terminals for corrosion and make sure the connections are tight. Look at the water level in flooded batteries and top them up with distilled water when needed. Confirm the charger or converter is working.
If the battery drains quickly, something may be drawing power while the rig is parked. A faulty component or a light left on can slowly empty it. A multimeter can help you find the source.
A battery that will not hold a charge after a full recharge usually needs replacing. Our full maintenance and replacement steps are in our RV Battery Maintenance and Replacement: A Step-by-Step Guide, which walks through each stage in order.
- Clean corroded terminals with a baking soda and water mix
- Confirm the converter output reaches the battery
- Test the battery voltage after it rests for several hours
- Replace batteries that no longer hold a charge
Plumbing, Roof and Slide-Out Leaks That Signal Bigger Faults
Water damage is slow and expensive. A small leak around a roof seam or slide-out seal can rot the floor and walls before anyone notices. Plumbing leaks can do the same damage inside the walls.
Check the roof seams and vents for cracked sealant at least twice a year. Look at the slide-out seals for gaps or flattened rubber. Under the sinks and around the water heater, look for damp spots, stains or a musty smell.
Water on the floor near the wastewater valve or freshwater tank can point to a leaking fitting or a failed valve. Find the source early, since a small drip can hide a larger problem.
- Look for stains on the ceiling near roof vents
- Check slide-out seals for cracks or flattened rubber
- Run the water and check under sinks for drips
- Smell for mustiness, which often signals hidden moisture
Leaks rarely fix themselves. Catching them early often means a simple seal replacement instead of a major structural repair.
Telling Urgent Faults From Minor Problems
Not every warning sign needs a tow. Knowing the difference between urgent faults and minor problems helps you decide what to do next.
Urgent faults include overheating, brake failure, fuel or gas smells, active leaks that soak the floor, and any electrical problem that gives off heat or smoke. Stop driving and get help right away.
Minor problems include a dim light, a slow-running fan, or a small stain that has not changed. These still deserve attention, but they can wait for a scheduled visit.
A simple rule works well: if the problem affects safety, stop and get help. If it affects comfort, schedule a repair soon.
DIY Checks Versus Professional Repair
Many owners can handle basic checks on their own. Tire pressure, fluid levels, battery terminals and visual inspections all fit well within a DIY routine. These checks catch a lot of trouble for very little effort.
Other jobs need a qualified technician. Brake work, engine repairs, gas system repairs and electrical faults that involve the main panel are better left to a professional. Mistakes in these areas can be dangerous.
Before you hire anyone, ask about their experience with your RV type and whether they can show proof of training. Our guide on How to Find Qualified RV Technicians on Your Own Terms covers how to check credentials, compare estimates and ask the right questions before you book.
- DIY: tire pressure, fluid checks, visual leak checks, battery terminal cleaning
- Professional: brake repair, engine work, gas appliances, main electrical faults
- Either way: keep records of every check and repair
Booking Your Pre-Trip Inspection and Maintenance Visit
A pre-trip inspection gives you a clear picture before you leave. A technician checks the systems covered above and flags anything that needs attention. This is the easiest way to avoid trouble on the road.
Our team travels directly to your site, so you do not have to haul the rig to a shop. Our Book Mobile RV Inspection: Step-by-Step Guide explains what to expect, how to prepare and what the visit covers.
If you have questions before you book, our Contact page lists the service area and phone number.
For a quick start, book a visit before your next trip, not after the first problem shows up. Catching a fault early costs far less than repairing it on the side of the highway.
Get your RV inspected before the next trip with ONSITE RV RENTAL AND REPAIR. Our team checks engines, brakes, tires, batteries and plumbing right at your site.
Frequently Asked Questions
What are the most common mechanical problems with RVs?
The most frequent RV mechanical problems involve batteries, tires, brakes, engine cooling, plumbing leaks and roof seals. Batteries often lose charge because of parasitic draw from appliances left connected, while tires age and crack even when tread looks fine. Brakes wear unevenly on towed units and motorhomes that brake hard on grades. Checking each of these systems on a regular schedule catches most faults before they strand you on the road. Owners who keep a simple log of readings, pressures and service dates usually spot trends early and avoid expensive emergency repairs.
What should I check before taking an RV on a trip?
Before departure, check tire pressure and sidewall condition on every tire including the spare, confirm battery charge and secure connections, test brake function and fluid levels, and look for fresh water leaks under sinks and around the water heater. Verify that slide-outs retract fully and latch, that the roof seals are intact, and that the engine coolant and oil are at proper levels. Walk around the unit to check lights, hitch connections and awning locks. A ten-minute pre-trip inspection prevents most roadside breakdowns.
Why do RV batteries keep losing their charge?
RV batteries lose charge most often because something keeps drawing power when the vehicle is parked. Common culprits include the refrigerator running on battery in certain modes, a faulty converter that does not fully charge the battery, corroded terminals, or an aging battery that can no longer hold a charge. Testing resting voltage, inspecting cable connections and checking the converter output are the first troubleshooting steps. If a battery will not hold a charge after cleaning and testing, replacing it is usually more economical than repeated jump starts.
Which RV problems should be handled by a professional?
Handle simple tasks yourself, such as checking tire pressure, topping up fluids, cleaning battery terminals and replacing light bulbs. Bring in a professional for brake component replacement, suspension and axle work, engine diagnostics, propane leak repairs, electrical faults involving the converter or inverter, and roof repairs that involve structural damage. Any gas or propane smell, persistent overheating, or brake pedal failure should be treated as urgent. A qualified technician can diagnose these faults safely and document the work for insurance and resale.