 How-to
RV Battery Maintenance and Replacement: A Step-by-Step Guide
Last Updated: November 8, 2026
Quick Summary
RV battery maintenance means checking each battery's type, inspecting it monthly for damage, cleaning terminals, topping up electrolyte in flooded batteries, and testing voltage. Keeping a flooded battery's electrolyte covering the plates and charging it fully helps it last longer.
- Check flooded lead-acid electrolyte monthly and add only distilled water.
- Clean corroded terminals with a baking soda and water solution, then rinse and dry.
- A fully charged 12-volt lead-acid battery reads about 12.6 to 12.8 volts.
- Replace a battery that swells, cracks, leaks, or will not hold voltage overnight.
- Test voltage every four to six weeks during storage and recharge near 12.4 volts.
Table of Contents
- RV Battery Types and What Each One Needs
- RV Battery Maintenance Checklist for Routine Care
- How to Test an RV Battery's Voltage and Charge Level
- Diagnosing Battery and Charging-System Problems
- Signs an RV Battery Needs Replacement
- RV Battery Storage and Charging for Off-Season Care
- Step-by-Step RV Battery Replacement Walkthrough
- Booking Your Battery Check With ONSITE RV RENTAL AND REPAIR
- Frequently Asked Questions
RV Battery Types and What Each One Needs
Your RV battery bank powers lights, the water pump, the fridge controls and much more when you are off the grid. Keeping it healthy starts with knowing what kind of battery you have, because each type needs different care. Owners often assume every battery works the same way, and that assumption causes avoidable mistakes.
The most common RV batteries are flooded lead-acid, AGM (absorbent glass mat), gel, and lithium. Flooded batteries are the oldest design and need the most hands-on attention. AGM and gel batteries are sealed, so you never add water. Lithium batteries are the lightest and charge the fastest, but they require a charger built for lithium chemistry.
Flooded lead-acid, AGM, gel, and lithium compared
- Flooded lead-acid: Lowest upfront cost. Needs regular electrolyte checks and distilled water top-ups. Must be mounted upright and vented because it can release hydrogen gas during charging. Best suited to owners who will check water levels monthly.
- AGM: Sealed and spill-resistant. Tolerates vibration well. Needs a charger set to the AGM profile. Because it is sealed, it recombines gas internally, but it is still sensitive to overcharging and should not be charged above the voltage range on its label.
- Gel: Sealed and sensitive to overcharging. Needs a gel-specific charge setting. Gel batteries are easily damaged by charging voltages that are fine for flooded or AGM batteries, so confirm the charger has a gel profile before you connect it.
- Lithium: Longest life and lightest weight. Often has a built-in battery management system. Verify your converter or charger supports it. Lithium batteries also should not be charged below freezing unless the manufacturer states otherwise, and many units include low-temperature cutoff for that reason.
Chemistry-specific maintenance and charging rules
The practical differences matter more than the labels. For a flooded battery, check electrolyte monthly and add only distilled water; never let the plates go dry. For AGM and gel, never open the case or attempt to add water, and use the sealed or gel charge profile so the battery does not gas and dry out internally. For lithium, use a charger with a lithium profile and confirm the converter, solar controller, and any battery monitor are compatible with lithium charging voltages.
One common mistake is replacing a flooded battery with lithium while keeping the old charger, which can leave the battery short of full charge or running at the wrong voltage. Check the charger, converter, and solar controller settings before you change chemistry, not after.
Watch out: a charger set to the wrong profile can shorten a battery's life quickly, and a gel battery charged on a flooded profile can be damaged in a single deep charge cycle.
The table below sums up how each battery type differs in upkeep and charging needs.
| Battery type | Best for | Key difference |
|---|---|---|
| Flooded lead-acid | Owners who check water monthly | Needs distilled water top-ups and upright venting |
| AGM | Spill-resistant, vibration-tolerant setups | Sealed; needs AGM charge profile |
| Gel | Owners using a gel charge setting | Sealed; easily damaged by wrong charge voltage |
| Lithium | Lightest weight and fastest charging | Needs a lithium-compatible charger or converter |
RV Battery Maintenance Checklist for Routine Care
Routine care keeps a battery working longer and prevents surprise failures on the road. A simple monthly check takes about 15 minutes. Use this RV battery maintenance checklist as your starting point.
Visual inspection for cracks, leaks, and damaged wiring
Start by looking at the battery and its tray. A healthy battery has no cracks in the case, no swelling, and no wet spots on the top or sides. Check the cables for frayed insulation or exposed copper. Look for any sign of heat damage near the connections.
Watch out: a swollen or leaking battery can release harmful gases or acid. Stop, ventilate the area, and replace the battery before you continue using it.
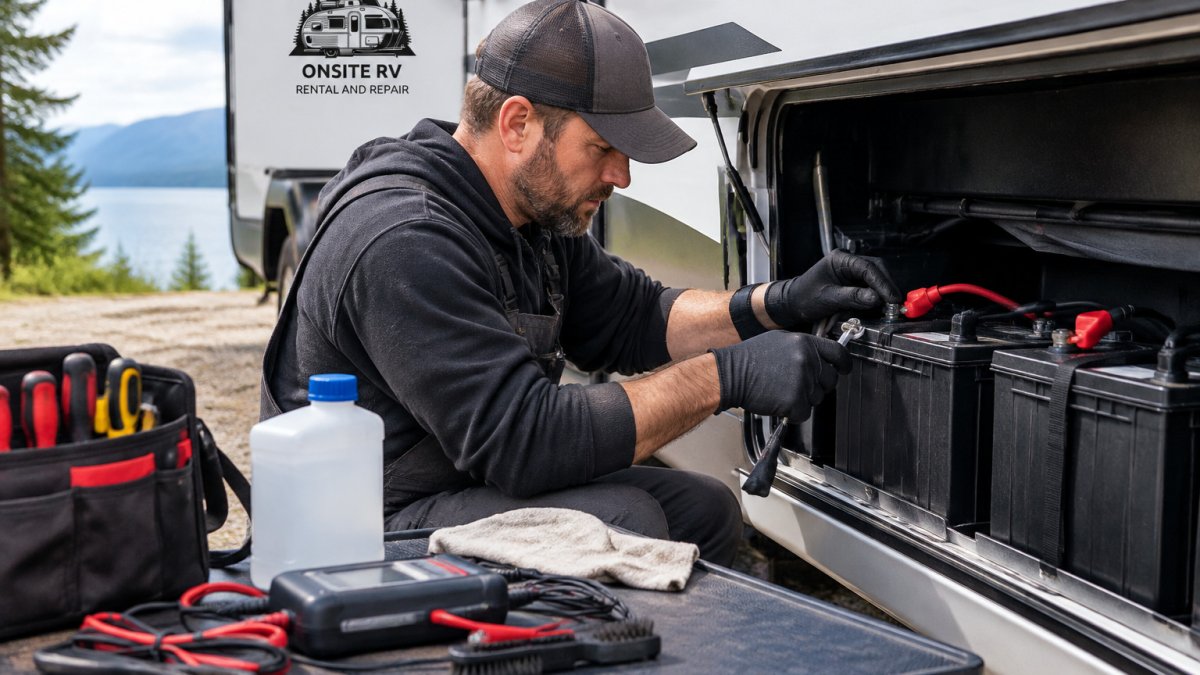
Cleaning battery terminals and connections
Corrosion on the terminals creates resistance, which means weaker power and slow charging. A white or blue-green crust is a clear sign it needs cleaning.
- Disconnect the negative cable first, then the positive.
- Mix a solution of baking soda and water.
- Scrub the terminals and posts with a wire brush dipped in the mixture.
- Rinse with clean water and dry completely.
- Reconnect the positive cable first, then the negative.
Wear protective gloves and safety goggles during this job. Keep the work area well ventilated.
Topping up electrolyte in flooded batteries
Flooded lead-acid batteries lose water over time, especially in hot weather or after heavy charging. Check the electrolyte level in each cell once a month. The fluid should cover the plates, usually about 1/4 inch above them.
Add only distilled water. Tap water contains minerals that damage the plates. Fill each cell to the proper level, then recharge the battery fully. Never overfill, because the fluid can expand and spill during charging.
How to Test an RV Battery's Voltage and Charge Level
Testing tells you how much power is actually stored. You will need a digital multimeter, which is inexpensive and easy to use.
Turn off all loads and let the battery rest for at least a few hours after charging. Then set the meter to DC volts and touch the red probe to the positive terminal and the black probe to the negative terminal.
A fully charged 12-volt lead-acid battery reads about 12.6 to 12.8 volts. A reading near 12.0 volts means the battery is roughly half charged. Readings below 11.9 volts suggest the battery needs charging right away or may be failing.
- 12.6 to 12.8 V: Full charge
- 12.4 V: About 75% charged
- 12.0 V: About 50% charged
- Below 11.9 V: Discharged, recharge immediately
Many owners find that a battery monitor gives a clearer picture than a single reading. Monitors track how much energy goes in and out over time.
Diagnosing Battery and Charging-System Problems
When something feels wrong, work through the problem in order. Start with the simplest causes.
- Battery will not hold a charge. Check the voltage after a full night of rest. If it drops quickly, the battery may have an internal fault or be too old.
- Charging seems slow. Clean the terminals and check the cable size. Thin or long cables cause voltage drop.
- Lights dim under load. Test the voltage with the load running. A large drop points to a weak battery or a poor connection.
- Converter or charger not charging. Confirm the shore power connection and the charger's output voltage. Make sure the charge profile matches your battery type.
Many owners find that a single faulty connection causes more trouble than a dead battery. Check the connections before you replace anything. Follow a step-by-step guide to diagnosing electrical faults without a technician.
Signs an RV Battery Needs Replacement
Batteries do not last forever. Watch for these warning signs:
- The battery will not hold voltage overnight
- It swells, cracks, or leaks
- It takes much longer to charge than before
- Electrolyte levels drop faster than normal in flooded batteries
- Capacity testing shows it can run only a short time under load
A battery older than three to five years, depending on type and use, is worth testing closely. If a battery has failed suddenly on the road, see what emergency repair options are available right away.
RV Battery Storage and Charging for Off-Season Care
Batteries lose charge when the RV sits unused. Self-discharge is normal, but it speeds up in heat and when a battery sits discharged. A battery left low for months can sulfate and lose capacity permanently.
Before storage, charge the battery fully and clean the terminals. Disconnect the negative cable to prevent slow drain from electronics. Store the battery in a cool, dry place away from direct sun and freezing temperatures.
Check the voltage every four to six weeks and recharge when it drops near 12.4 volts. Learn the full storage preparation steps for batteries, water systems, and moisture control. For a longer break, a smart charger or battery maintainer keeps the battery topped up safely.
Watch out: never store a flooded battery in a sealed compartment where gases can build up. Give it room to vent.
Step-by-Step RV Battery Replacement Walkthrough
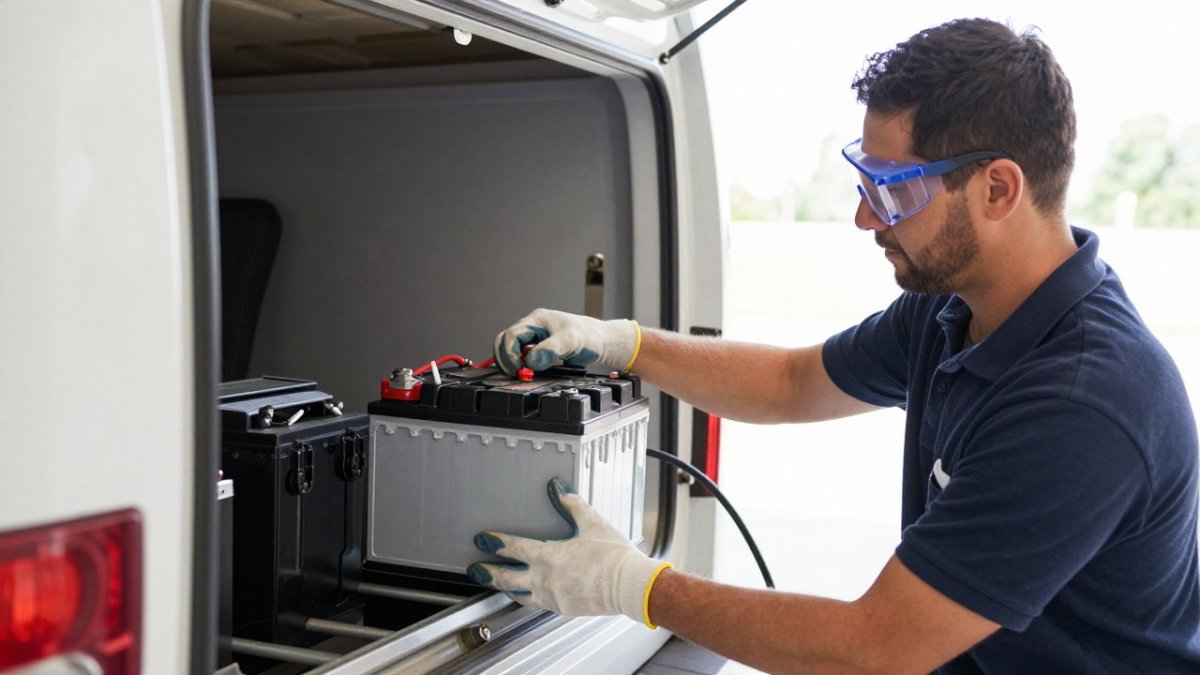
Replacing a battery is a manageable job with the right tools and care. The goal is not just to swap the box but to confirm the new battery is the right chemistry, is connected in the right order, and charges correctly before you rely on it on the road.
Before you buy: match the battery to your system
Check the old battery's label for chemistry, group size, cold-cranking amps or reserve capacity, and terminal orientation. Confirm the new battery fits the tray and hold-down, and that its chemistry matches your charger, converter, and solar controller profiles. If you are switching to lithium, verify the charger and any battery monitor support lithium voltages before purchase.
Tools and safety gear
You will need a wrench set, a wire brush, protective gloves, safety goggles, and a digital multimeter. Have a certified recycling option lined up for the old battery before you start, since lead-acid and lithium batteries both require safe handling and recycling, and many retailers and municipal depots accept them.
Disconnect and remove
- Turn off everything. Shut off the main switch and all appliances, and disconnect shore power and solar input.
- Label the cables. Take a photo or tag each cable so you know which is positive and which is negative when you reconnect.
- Disconnect the negative cable first. Then disconnect the positive. This order reduces the chance of a short through a tool.
- Remove the hold-down bracket. Keep the hardware in a safe place.
- Lift the old battery out. Use two people for heavy batteries and protect your back. Keep the old battery upright and away from sparks.
Install the new battery
- Clean the tray and terminals. Remove any corrosion or debris, and neutralize acid residue with a baking soda and water solution before rinsing and drying.
- Set the new battery in place. Make sure it sits level and secure, with the terminals in the same orientation as the old battery.
- Secure the hold-down bracket. The battery must not move while driving. Snug the hardware firmly without crushing the case.
- Connect the positive cable first, then the negative. Recheck polarity against your labels before tightening.
- Apply a thin protective coating to the terminals if you use one, and confirm every connection is tight.
Post-install checks
- Test the voltage. Confirm the new battery reads at full charge before you rely on it. A fully charged 12-volt lead-acid battery should rest around 12.6 to 12.8 volts.
- Reconnect shore power and solar, then confirm charging. Watch the charger or monitor to see that current is flowing and the profile matches the new chemistry.
- Run a load test. Turn on a known load, such as lights or the water pump, and confirm voltage holds without a large drop.
Watch out: connecting the positive and negative cables in the wrong order, or reversing polarity, can damage electronics and create a spark near battery gas. Label the cables before you disconnect and recheck polarity before you tighten anything.
Wear gloves and eye protection throughout. Dispose of the old battery at a certified recycling depot rather than with household waste.
Booking Your Battery Check With ONSITE RV RENTAL AND REPAIR
If you would rather have a professional handle the job, ONSITE RV RENTAL AND REPAIR offers year-round RV service across Vancouver Island. We travel directly to your site, so you do not have to haul a heavy RV to a shop. We also offer in-shop service at our Port Alberni location.
Our services cover electrical diagnostics and general maintenance. Pricing depends on the work involved, so contact us for a quote based on your RV and your needs. For current scheduling, call us to book an appointment. You can also see how to book a mobile RV inspection, including steps, pricing details, and preparation tips.
Keeping your RV battery in good shape is simpler than it looks. A routine check every month, careful charging, and quick attention to warning signs go a long way. When the battery needs more than basic care, ONSITE RV RENTAL AND REPAIR is ready to help you get back on the road safely.
Frequently Asked Questions
How often should you check an RV battery?
Check an RV battery visually at least once a month during regular use, and every few weeks while the RV is in storage. Look for cracks, leaks, corroded terminals, and loose cables. Measure voltage at the same intervals to catch slow discharge early. Flooded lead-acid batteries also need electrolyte levels checked monthly, topped up with distilled water only when the plates are exposed. Keeping a simple log makes trends easy to spot before a battery fails on the road.
How long do RV batteries typically last?
Lifespan depends heavily on battery type, charging habits, and storage conditions. Flooded lead-acid batteries often last three to five years with regular maintenance, while AGM and gel batteries can last longer when they are not deeply discharged. Lithium batteries commonly outlast lead-acid types when paired with a compatible charger. Frequent deep discharges, heat exposure, and leaving a battery sitting at a low charge shorten any battery's life considerably.
Should you disconnect an RV battery during storage?
Yes, disconnecting the negative cable during storage prevents parasitic draws from alarms, clocks, and monitors from draining the battery. Before disconnecting, confirm the battery is fully charged and keep it on a maintenance charger if the storage period is longer than a few weeks. Store flooded batteries upright in a cool, dry place away from direct sunlight. Recheck voltage every month, since even a disconnected battery self-discharges over time.