 How-to
How Do You Maintain a Permanently Stationed RV?
Quick Summary
To maintain permanently stationed RVs, follow a written plan that covers the systems a stationary unit wears through: tires, seals, batteries, leveling and utility connections. Inspect monthly, check the roof and moisture twice a year, and schedule one professional inspection annually.
- Check the level and stabilizer jacks at least once a month.
- Check tire pressure monthly using the cold pressure rating on the sidewall.
- Dump the black tank when it is at least two-thirds full.
- Inspect roof seals, vents and skylights every three months and after heavy rain.
- Arrange a full professional inspection once a year.
Table of Contents
- Why a Stationary RV Needs Its Own Maintenance Plan
- Building Your RV Maintenance Checklist
- Leveling, Stabilizers and Foundation Care
- Tires and Chassis When the RV Never Moves
- Keeping Batteries Charged and Healthy
- Utility Connection Safety and Water System Care
- RV Plumbing Winterization for Coastal and Cold Snaps
- Moisture, Mold, Pests and Roof Inspections
- Building a Year-Round RV Maintenance Schedule
- Booking Your Next Inspection or Service Visit
- Frequently Asked Questions
Why a Stationary RV Needs Its Own Maintenance Plan
Last Updated: October 28, 2026
An RV that is kept as a permanently stationed RV faces different wear than one that travels. It sits on the same spot for months, so tires flatten, seals dry out, batteries drain slowly, and moisture gets trapped inside. Many owners assume that an RV that doesn't move needs less care. In practice, it often needs more planning.
Owners who maintain permanently stationed RVs for the long term and then forget about them may face problems later. A written maintenance plan can help match care to how the RV is used.
A maintenance plan for a stationary RV can help organize care for its systems and protect the unit from weather and time. Each section below covers one part of that plan.
Building Your RV Maintenance Checklist
Start with a simple checklist that you can complete in about an hour. Walk around the RV, open each compartment, and check every system. Write down what you find, even if it looks fine.
A basic checklist should cover:
- Exterior walls, windows, and door seals
- Roof surface, vents, and skylights
- Tires, wheels, and valve stems
- Battery condition and connections
- Water lines, drains, and tank valves
- Propane fittings and appliance vents
- Interior air, odours, and damp spots
Keep the checklist in one place, such as a binder or a shared document. Date each entry so you can see patterns over time. A small leak that shows up twice in six months is worth noting.
Tip: Take photos during each inspection. Comparing this month's photo to last month's makes slow changes, like a seal cracking, easy to spot.
For a full view of the rest of your RV's systems, read our complete RV maintenance guide and fill in any gaps in your list.
Leveling, Stabilizers and Foundation Care
A stationary RV carries its weight on the same few points day after day. Uneven weight can affect the frame, doors, and refrigerator.
Check the level at least once a month, and after any heavy rain or ground movement. Use a bubble level on the floor near the centre of the RV, and on the counter if you can.
Stabilizer jacks and leveling blocks need the same attention:
- Check that each jack pad sits flat and does not sink into soft ground
- Look for cracks, bent legs, or leaking hydraulic fluid
- Keep the jack threads clean and lightly greased
- Retract stabilizers before any move, even a short one
Ground conditions change over time. Gravel can shift, and soft soil can settle under the RV's weight. Place solid pads under each support point, and re-check the level after the first few weeks of a new placement.
Tires and Chassis When the RV Never Moves
Tires are the part of a stationary RV most often overlooked. Even when the RV does not move, the tires age, lose air, and develop flat spots where they carry the weight.
Keep these points in mind:
- Check the tire pressure monthly, using the cold pressure rating printed on the sidewall
- Look for dry rot, cracks in the sidewall, and bulges
- Note the manufacture date on the tire, usually a four-digit code
- Use wheel covers or shade to slow UV damage
Check your manufacturer's guidance for your specific tires.
Under the chassis, look for rust on the frame, leaking brake lines, and damp spots under the floor. A quick check every few months can catch these before they grow.
Keeping Batteries Charged and Healthy
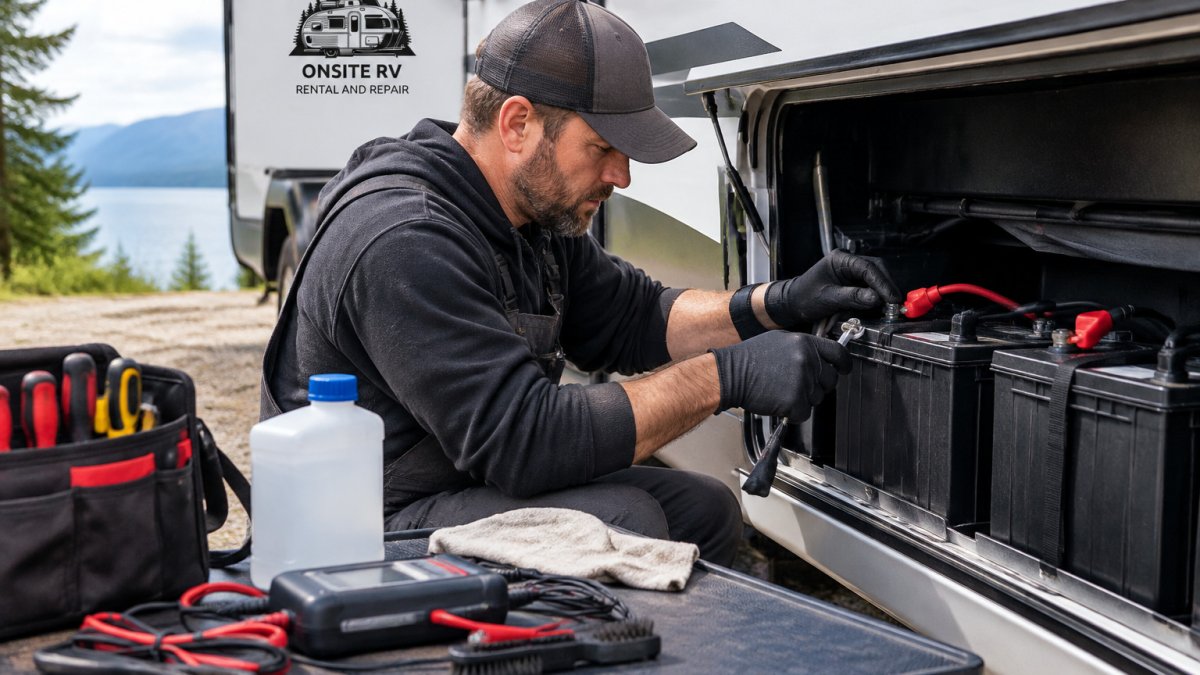
A battery that sits unused can drain over time. This is one of the issues to consider when maintaining a stationary RV.
Good battery care includes:
- Keeping the battery charged, either through shore power or a solar charger
- Checking the electrolyte level in lead-acid batteries and topping up with distilled water
- Cleaning terminals to remove corrosion
- Disconnecting the battery if the RV will sit unused for long periods
For a step-by-step look at electrical and shore power problems, see our electrical troubleshooting guide. It walks through dead batteries and power issues you can check before calling for help.
Utility Connection Safety and Water System Care
A stationary RV may rely on the same shore power, water, and sewer connections day after day. Check the connections periodically for visible wear or leaks.
Set up a monthly utility walk-through that goes beyond a visual glance. For each connection, check the following:
Shore power
- Inspect the entire length of the power cord for cuts, burns, flattened spots, or cracked plugs. Pay close attention to where the cord enters the RV and where it plugs into the pedestal, since these are the flex points.
- Check the plug prongs for discoloration or pitting, which indicate heat buildup from a loose connection.
- Confirm the pedestal breaker matches the RV's amperage rating.
- Use a surge protector rated for RV use at the pedestal. A common pattern is for voltage spikes and brownouts to damage sensitive electronics over time, and a surge protector is a cheap safeguard.
- Feel the plug and outlet after a period of heavy use. Warmth is normal; heat or a burning smell is not. Shut off the breaker and investigate before using that circuit again.
Water hookup
- Use a drinking-water-safe hose, not a garden hose, which can leach chemicals into the water over time.
- Install a pressure regulator at the spigot. Park water pressure varies widely, and high pressure can stress fittings and cause leaks inside walls.
- Check the hose for bulges, kinks, and green algae growth, and replace it if any appear.
- Look at the city water inlet fitting and the connection at the RV for slow drips.
- If the RV has a water filter, replace the cartridge on the schedule the manufacturer recommends.
Sewer connection
- Support the sewer hose along its run so it does not sag and trap waste. A slinky-style support or a gentle slope works.
- Inspect the hose for pinholes, cracks, and worn cuffs.
- Keep the black tank valve closed until the tank is at least two-thirds full, then dump. Leaving the valve open lets liquids drain away and leaves solids behind, which leads to hardened waste and sensor problems.
- After dumping, close the valve and add a few gallons of water plus a tank treatment to keep the tank healthy between dumps.
- Check the sewer connection at the ground for a tight seal.
Propane connections
- Inspect the pigtail hose between the tank and regulator for cracks, and check the regulator for corrosion or a strong gas odor.
- Apply a soapy water solution to fittings and watch for bubbles, which indicate a leak. Rinse with clean water afterward.
- Keep the tank valve closed when the RV is unattended for long periods, and never store spare tanks inside the RV.
For a closer look at tank, regulator, and appliance problems, use our propane troubleshooting guide. It explains how to check these parts safely before calling a technician.
A simple log helps here too. Note the date you checked each connection and any small issue you found. Note any water fitting that weeps more than once.
The article breaks down the key checks for each utility connection:
| Connection | What to check | Key detail |
|---|---|---|
| Shore power | Cord, plug prongs, pedestal breaker | Plug should not show heat or burning smell |
| Water hookup | Hose type, pressure, fittings | Use drinking-water-safe hose and pressure regulator |
| Sewer connection | Hose support, cuffs, black tank valve | Dump when tank is two-thirds full |
| Propane | Pigtail hose, regulator, fittings | Check fittings with soapy water for bubbles |
RV Plumbing Winterization for Coastal and Cold Snaps
Cold snaps can happen, and water lines may be at risk when temperatures drop below freezing.
Before a cold snap, take these steps:
- Drain the freshwater tank and water heater
- Open the low-point drains so water can escape from the lines
- Add RV antifreeze to traps and drains if you expect a hard freeze
- Insulate exposed lines or the underbelly if the RV sits in an open area
Moisture, Mold, Pests and Roof Inspections
Moisture can be a concern for a stationary RV. Check for signs of dampness and leaks during routine inspections.
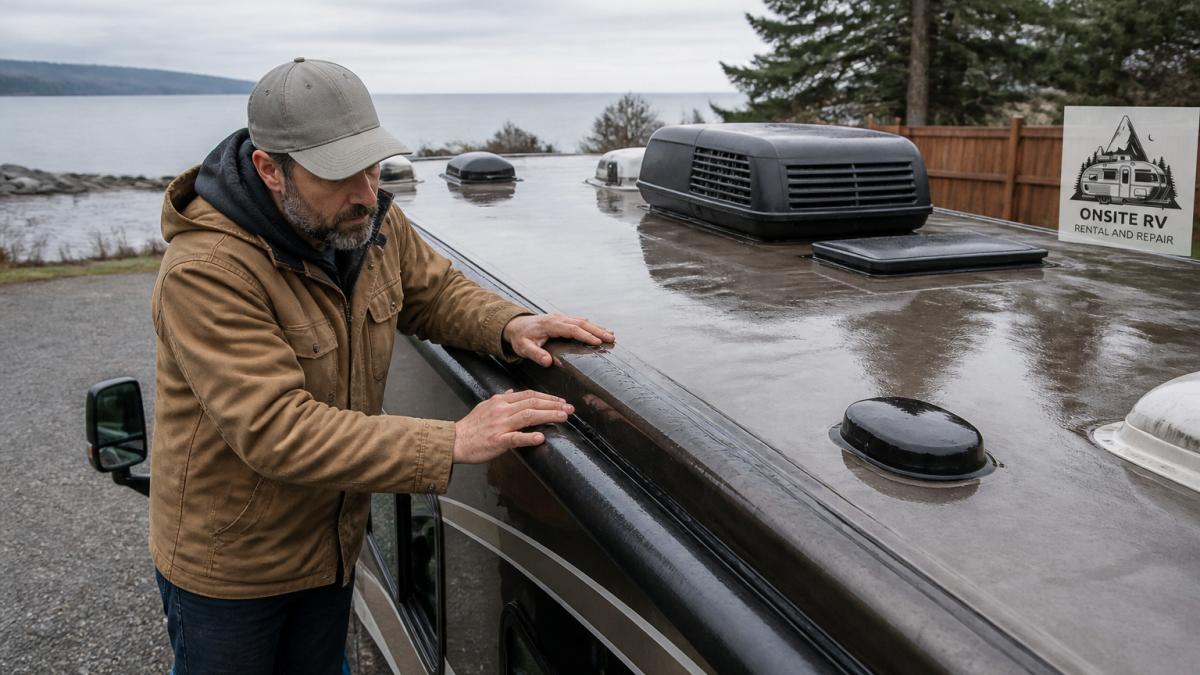
A monitoring routine that works
Check these areas every few months, and after any heavy rain:
- Roof seals and the edges of vents, skylights, and antennas
- Window frames and door gaskets
- Underneath cabinets and behind the fridge
- Floor corners near the exterior walls
- Inside storage compartments and under the bed
Roof inspection specifics
Pest prevention
Mice and insects enter through gaps you might not notice. Common entry points include:
- Around utility lines where they pass through the floor or wall
- Vents and appliance openings
- Slide-out seals and corners
- The underside of the RV, where small gaps in the underbelly can let rodents in
Inspect for signs of pests, such as droppings, gnaw marks, and insect casings.
If you find a leak you cannot trace or widespread soft spots, consider arranging a professional inspection.
Building a Year-Round RV Maintenance Schedule
A written schedule keeps the work from piling up. Divide your tasks by how often they need attention.
Monthly:
- Check the level and stabilizers
- Check tire pressure
- Inspect shore power and water connections
- Look for moisture and odours
Every three months:
- Inspect the roof, seals, and vents
- Clean battery terminals and check charge levels
- Test smoke and carbon monoxide alarms
Twice a year:
- Full walk-around inspection with photos
- Review tire age and condition
- Check the chassis and underbelly
- Sanitize the freshwater and wastewater tanks
Once a year:
- Full professional inspection
- Replace worn seals, filters, and hoses
- Review the winterization plan
Put these tasks in your calendar with reminders. A schedule you follow is worth more than a perfect plan you never use.
Booking Your Next Inspection or Service Visit
If you find a leak you can't trace, a battery that won't hold charge, or a sign of gas trouble, contact a technician.
ONSITE RV RENTAL AND REPAIR travels to customers and offers in-shop service. For current pricing or a quote, contact us directly.
Call to book an appointment.
Frequently Asked Questions
How often should you maintain an RV that stays in one place?
A permanently stationed RV still needs regular attention. Keep a record of maintenance and note any changes you observe.
Should you leave an RV plugged in all the time?
Keeping an RV plugged in can keep the batteries topped up and the fridge running, but a continuous connection also adds stress to the electrical system and the power cord. Check the shore power cord, plug and pedestal for heat damage or corrosion at least twice a year. Use a surge protector or hardwired surge device if the site has unstable power. Confirm the battery charger and converter are working, since a failed charger can quietly drain batteries that appear to be connected.
How do you keep a permanently parked RV from getting damp?
Check the RV periodically for signs of moisture or leaks.
Do stationary RVs still need tire maintenance?
Tires can age while an RV is stationary. Check the tire manufacturer's guidance for your tires.